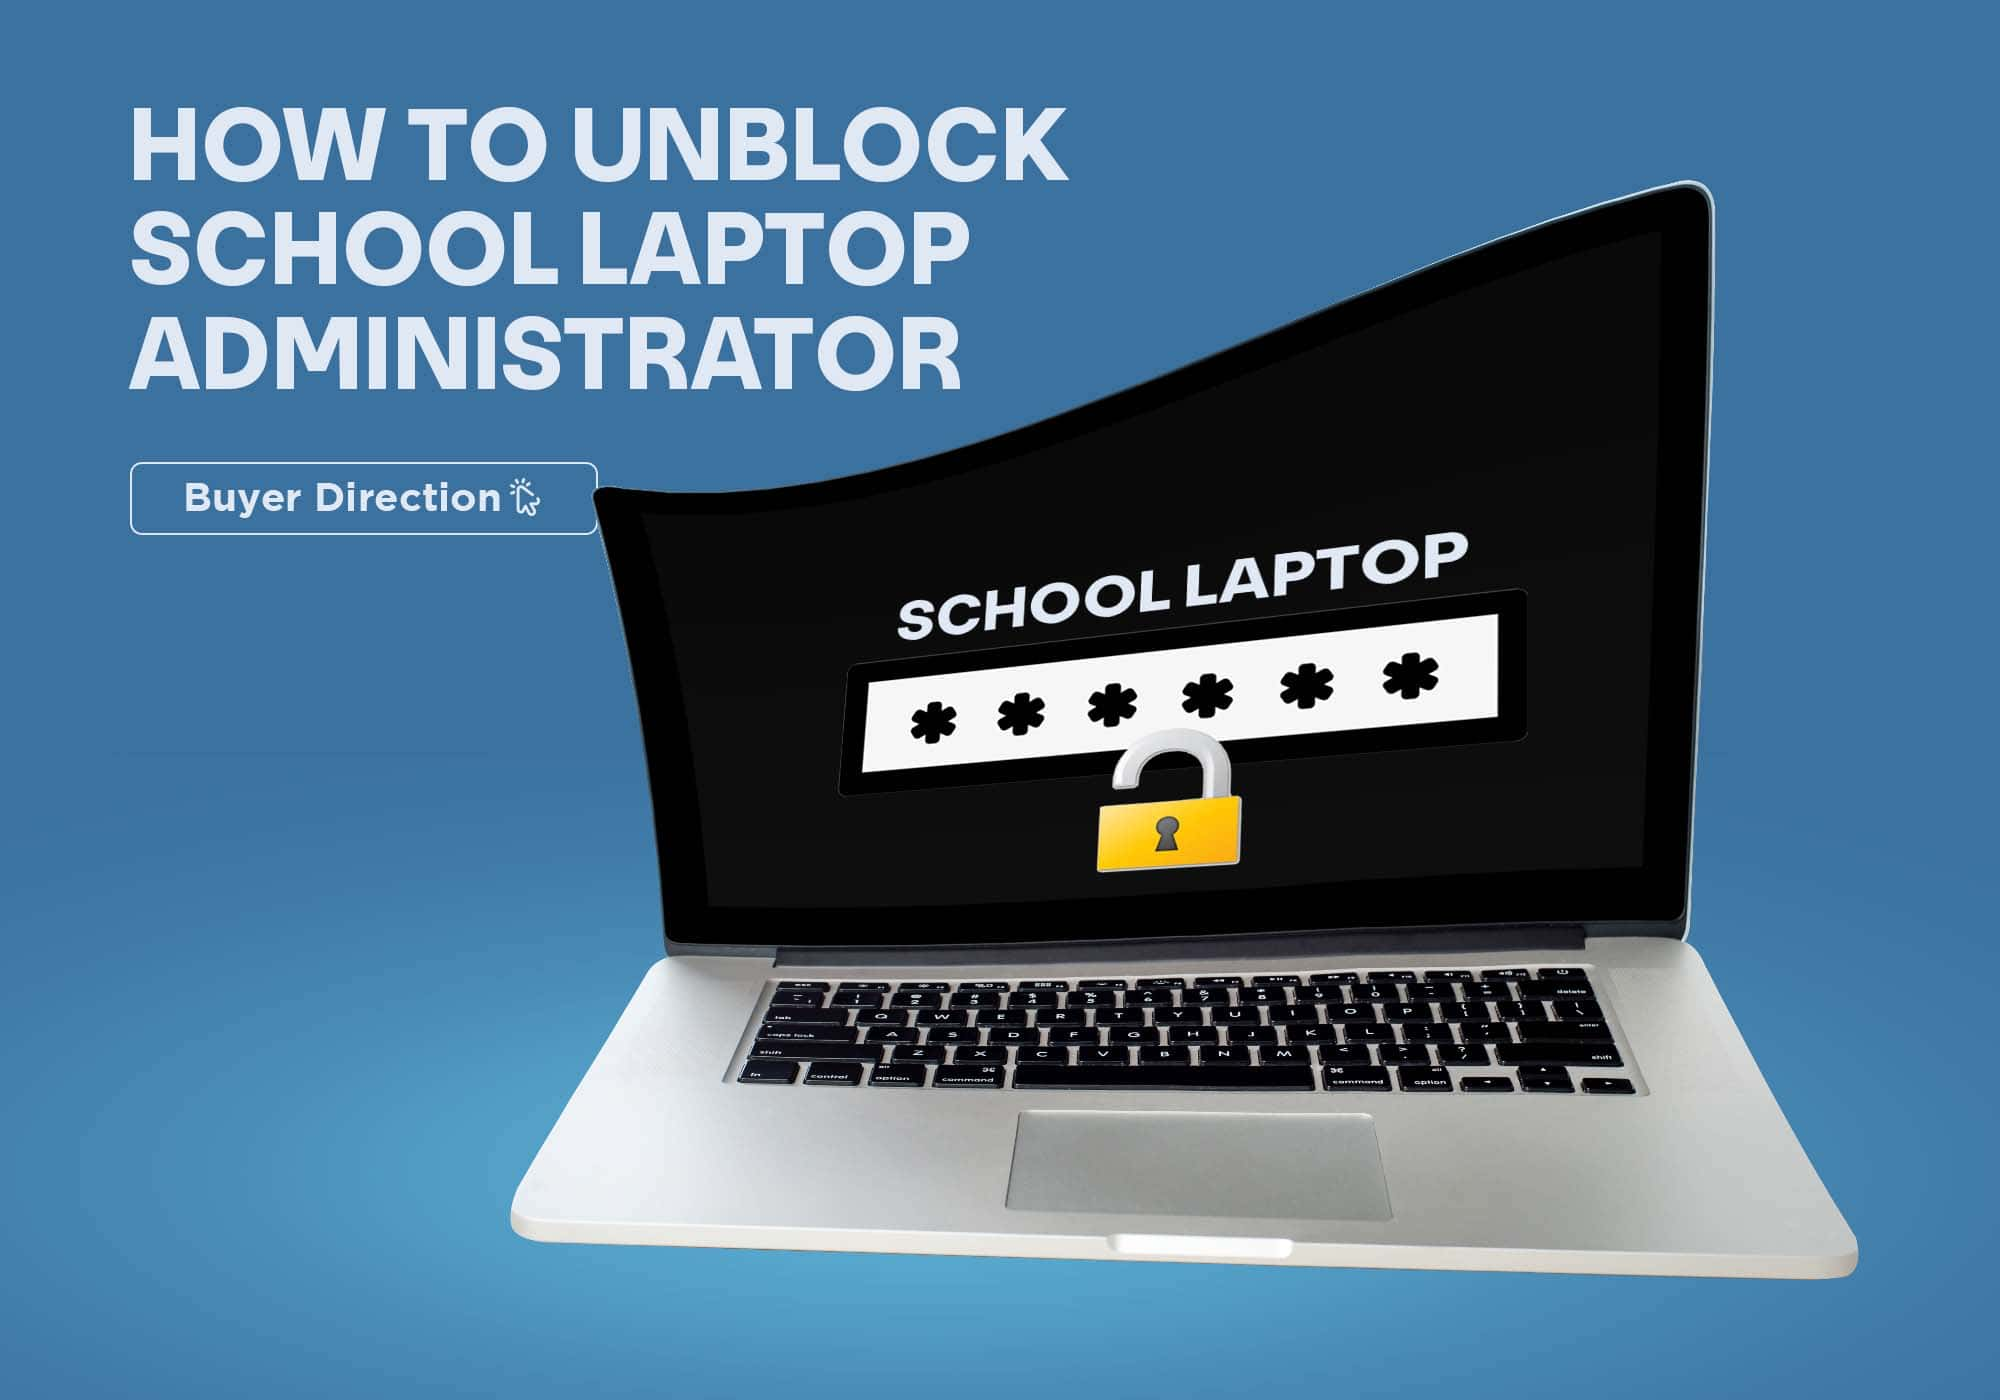
How to Unblock School Laptop Administrator
School laptops block certain apps and limits web permissions to specific websites to keep and implement their policies. But knowledge sites blocked by school administration are valuable commodities for students. During these modern times, where technology is changing so rapidly, everyone should grasp the technology before it leaves the station.
This century is termed the century of knowledge; anyone equipped with knowledge can excel better than others, explore more venues and grab better opportunities. Therefore, access to all the available expertise is essential to learn and excel.
Today, everything is available online; social media platforms are becoming your class; they have abundant knowledge, and anyone can learn from it. There is a need to understand whether students should access all this material or restrict them from accessing it. It’s a debatable topic, but we are here to tell you how to unblock your school administrator!
Disabling Administrator:
By disabling the administrators, you can access different websites and get permission to access and run content restricted by the school administration. The sole purpose of unblocking administrator permission is to engage and collect necessary study material.
By disabling the administrator, you can turn off the administrator control that prevents you from performing different functions; the following are some methods to do it:
Methods of Unblock School Laptop Administrator
Method 1
-
- Bring your cursor to the start menu, right-click on it or press the Windows key plus X key.
- A new window will pop up. Now select the computer management option from there.
- Clicking on computer management will open other pop up expand local users and groups.
- Choose users and then select the administrator account, right-click on it, and available properties.
- Uncheck the account is a disabled box.
- Select apply, click it, and then press okay.
Method 2
Another method to become an administrator on your school laptop is as follows:
-
- If your laptop is running, shut it down by pressing the power button constantly.
- Restart your machine and log in; as soon as you log in, log of quickly.
- On the screen log, you will see an accessibility wheel presented at the bottom left corner of your screen; click it and then click the on-screen keyboard.
- It will open a new command prompt window.
- In the command prompt window, type “control userpasswords2” and click enter.
- A new window will appear, click “add,” and then write any username and password of your choice.
- After that, click next and select the administrator option.
- In the end, click on finish. You successfully change the administrator of your school laptop.
Method 3
One more way to change your administrator is as follow, it is pretty similar to the above-described method but with different commands:
-
- Turn on your laptop if it’s shut down, log off if it’s already running.
- Select the accessibility wheel, click on it, click on the keyboard, and run it.
- A command prompt window will pop up.
- Type “net user/add user account name my password” in the command prompt window and click enter.
- Then type “net localgroup administrators useraccountname/add” and click enter.
- After that type “net share concfg*C:\\/grant:useraccoutname,full” and again click enter.
- After that, type “net user useraccountname*” and click enter again.
- Finally, exit the screen and restart your machine.
After restarting your machine, log in to windows; now you are running Windows as an administrator, you can perform any task without any admin restrictions
Note: In some schools, IT people check all the systems regularly for any system misuse; therefore, it’s better to reverse the whole process after you do your work. For that, follow the first four steps, then select the username you have created, click delete, and click done.
Unblock Administrator on a Chrome Book
If your school has chrome books instead of windows laptops, you need to follow these steps; they are straightforward.
- Press three keys simultaneously (ESC + refresh + power)
- Or insert a USB screen, press two keys, ctrl +d, and space simultaneously until you get a white screen and see the message welcome to your new chrome book.
- This way, your admin restrictions will be removed.
Tips to Avoid any Bad Circumstances
Changing administrator restrictions or removing them is a riskier step, but if you have to do this, do it with care and keep a few tips in mind to avoid any dire circumstances or avoid school in the worst-case scenario expelling.
-
- If you have hacked the system and unblock the administrator successfully, keep it to yourself, don’t tell anybody, things get out, and you may face serious charges.
- If your school IT person closely monitors all the systems and checks their logs, then when you create a new admin, keeping its username as system admin will decrease the chances of getting caught.
- Similarly, if all your systems are registered on the same school network, all designs are closely monitored; some schools also installed screen monitoring software to check and record whatever happened on the net. It can be fatal if you get caught. Unplug your internet connection when you are changing the admin to avoid it.
Conclusion
Well, changing and unblocking administrator access from school laptops might seem fun and productive if you are using it for the proper purposes; with the methods explained in this article, you can change it. But it’s better to avoid these things if you want to do something than get permission first and save yourself from any circumstances.